Workflow Actions - Insert
on 01-27-2026 12:00 AM by SnapApp by BlueVector AI
2384
Overview
The Insert action enables automated creation of records within workflows by mapping data from a source object to a target object. It ensures consistent, rule-driven data insertion while minimizing manual effort and operational errors.
Table of Contents
- Configure Insert Action
- 1. Access Automation Settings
- 2. Add a New Action
- 3. Enter Action Details
- 4. Finalize and Save
Configure Insert Action
Follow the steps below to create and configure an Insert action.
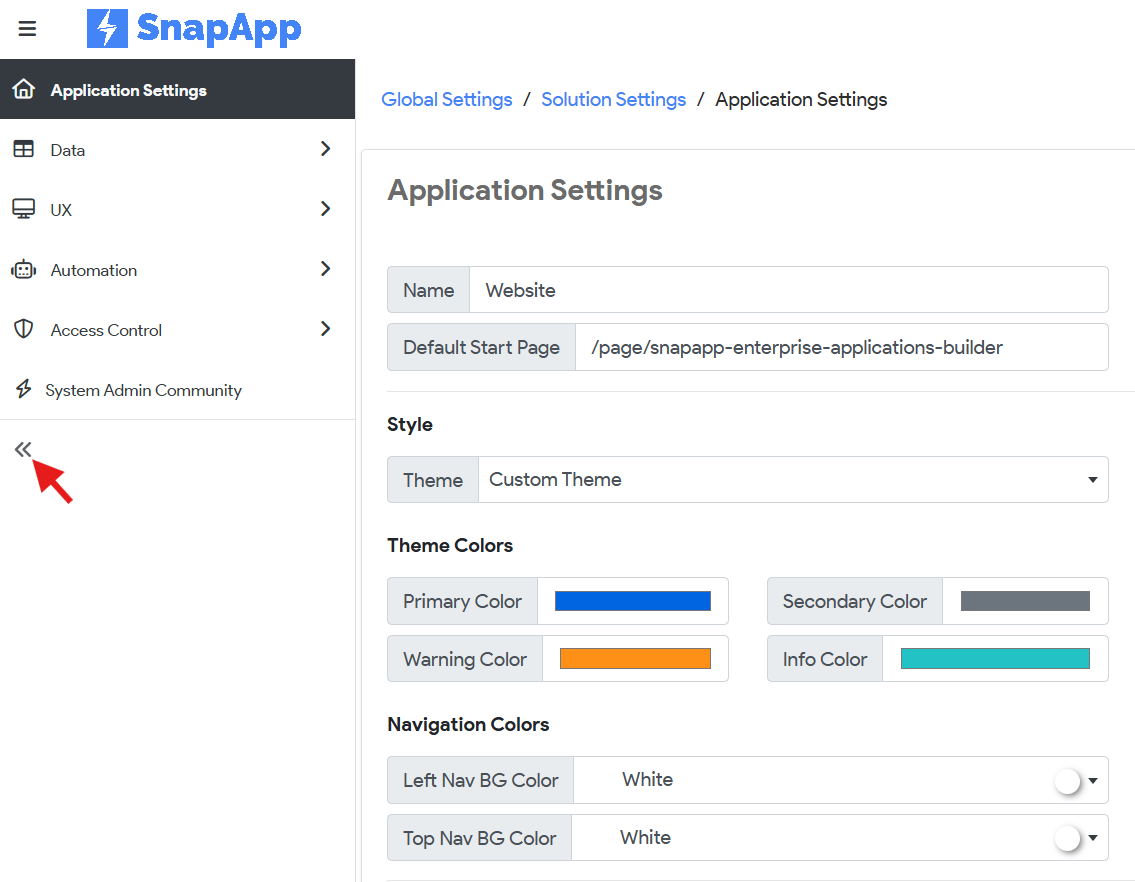
1. Access Automation Settings
-
Click User Settings in the top-right corner.

-
Expand the left navigation bar.
-
Navigate to either:
- Automation → Workflows, or
- Automation → Actions
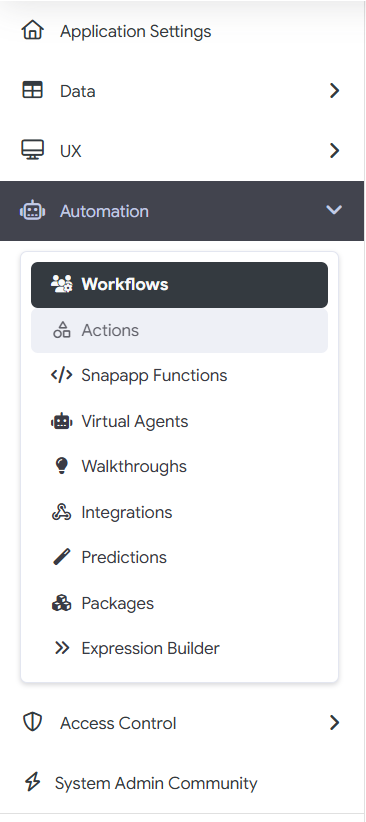
2. Add a New Action
- Open Actions.
- Click + Add New.

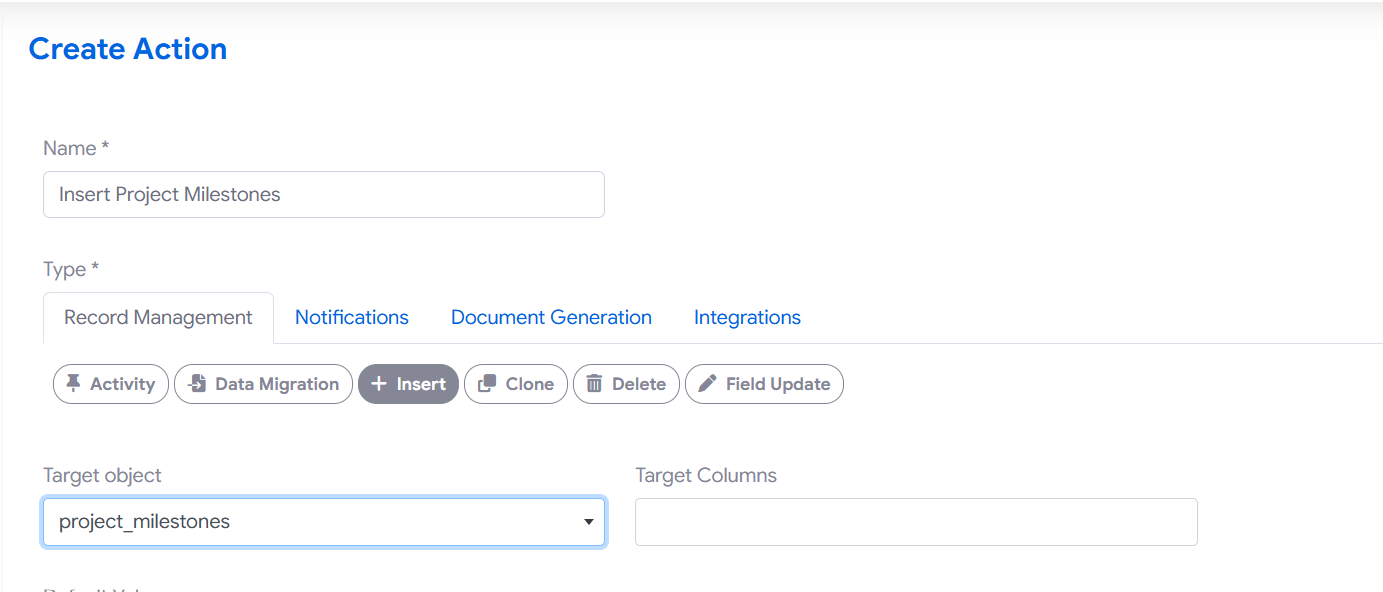
3. Enter Action Details
- Provide a Name for the action.
- Select Insert under Record Management as the Type.
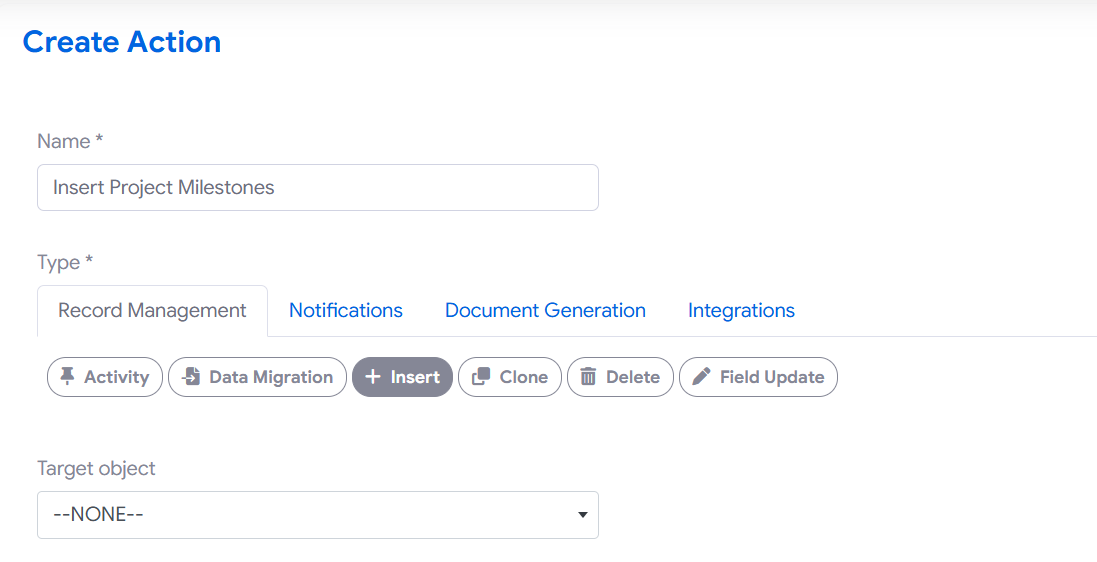
- Choose the Target Object where records will be inserted.
- Select the required Target Fields. These fields represent the columns where data will be inserted.
#### Single Record Insertion
Use this mode to insert one record per workflow execution. Configuration - Select the Target Object and Target Fields. - Optionally set Default Values for the selected target fields.
The syntax will be field_name = [[parent_object_name.respective_field_of_the_workflow_object]] with comma separated values.
Example
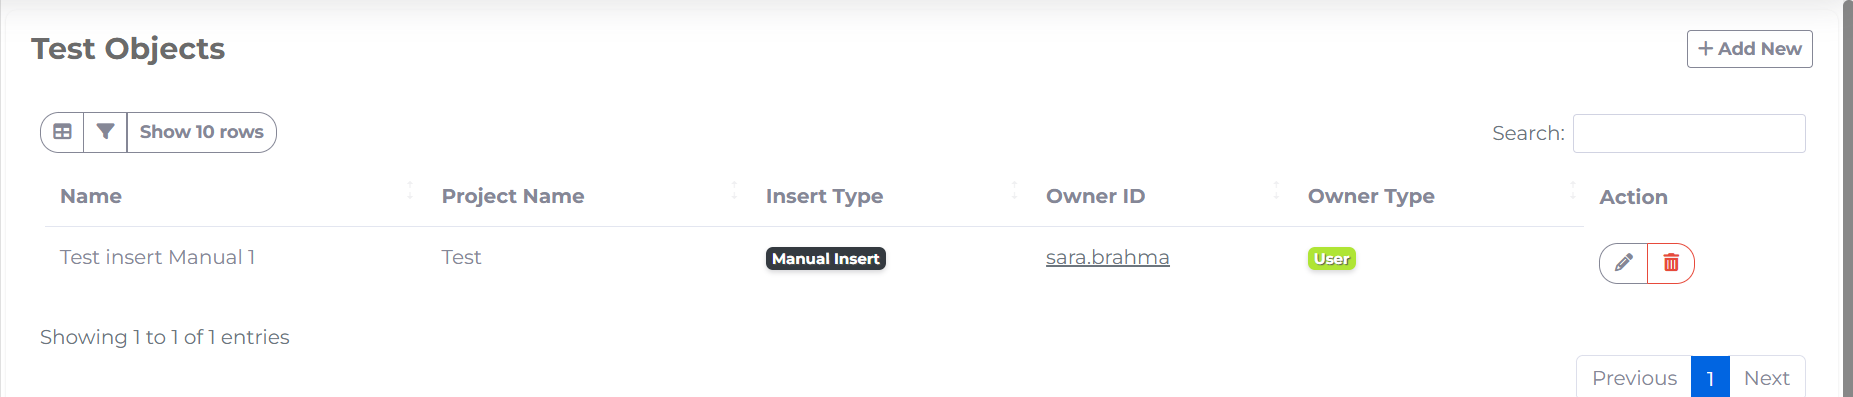
- Manual record insertion
 - Record view after insertion
-
Workflow configured to insert records from Projects object
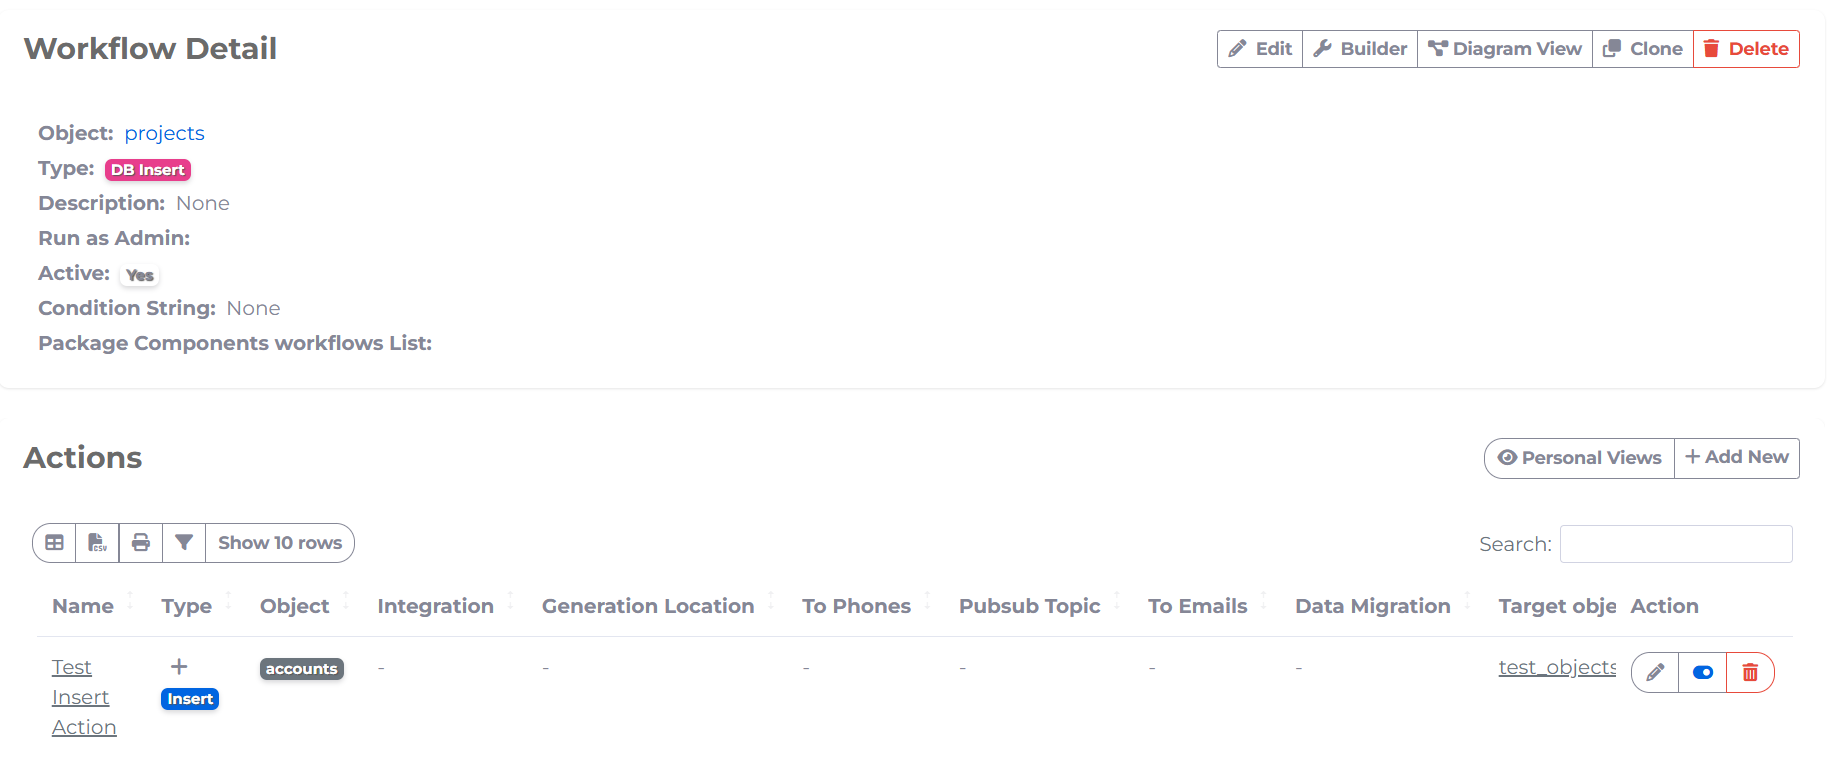
-
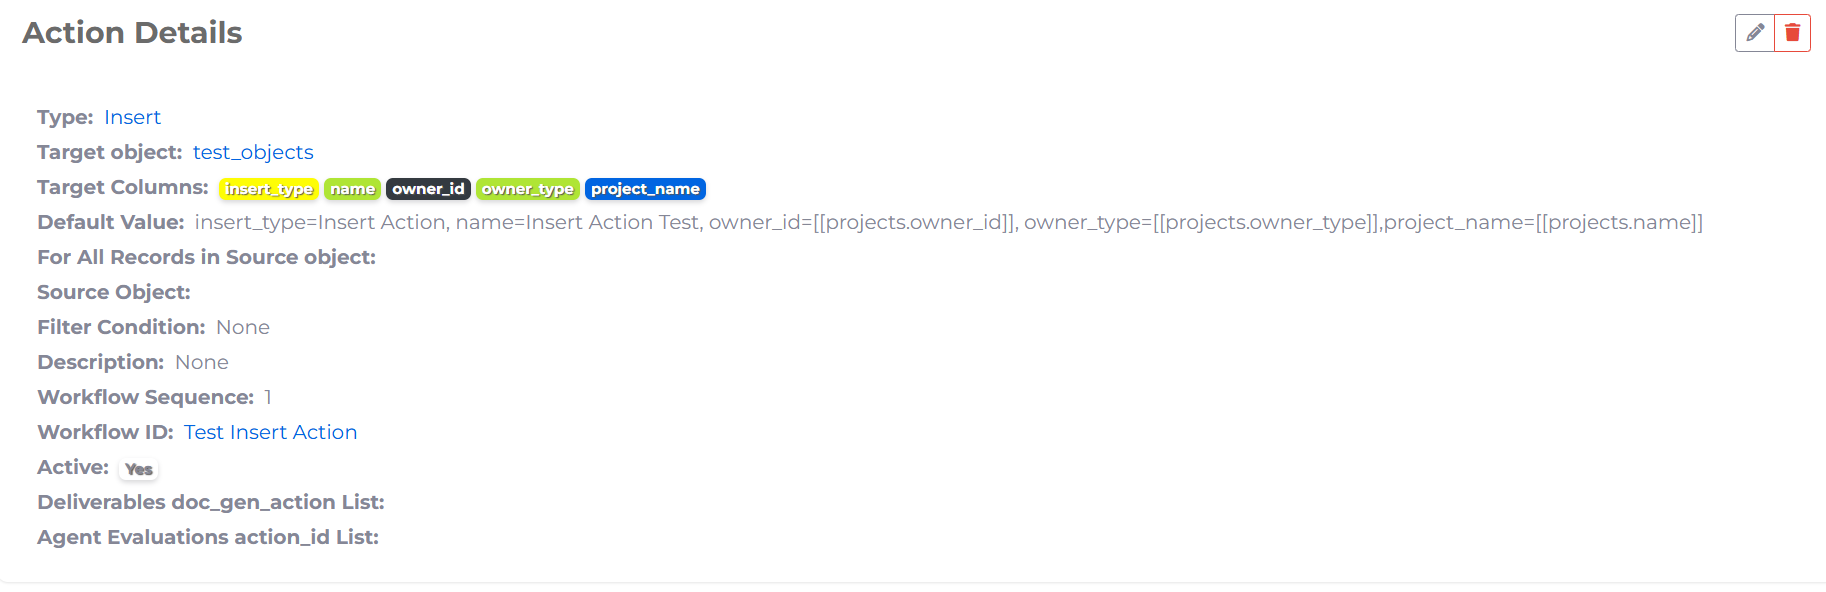
Insert action configuration
-
Adding a new Project in projects object (workflow object)

-
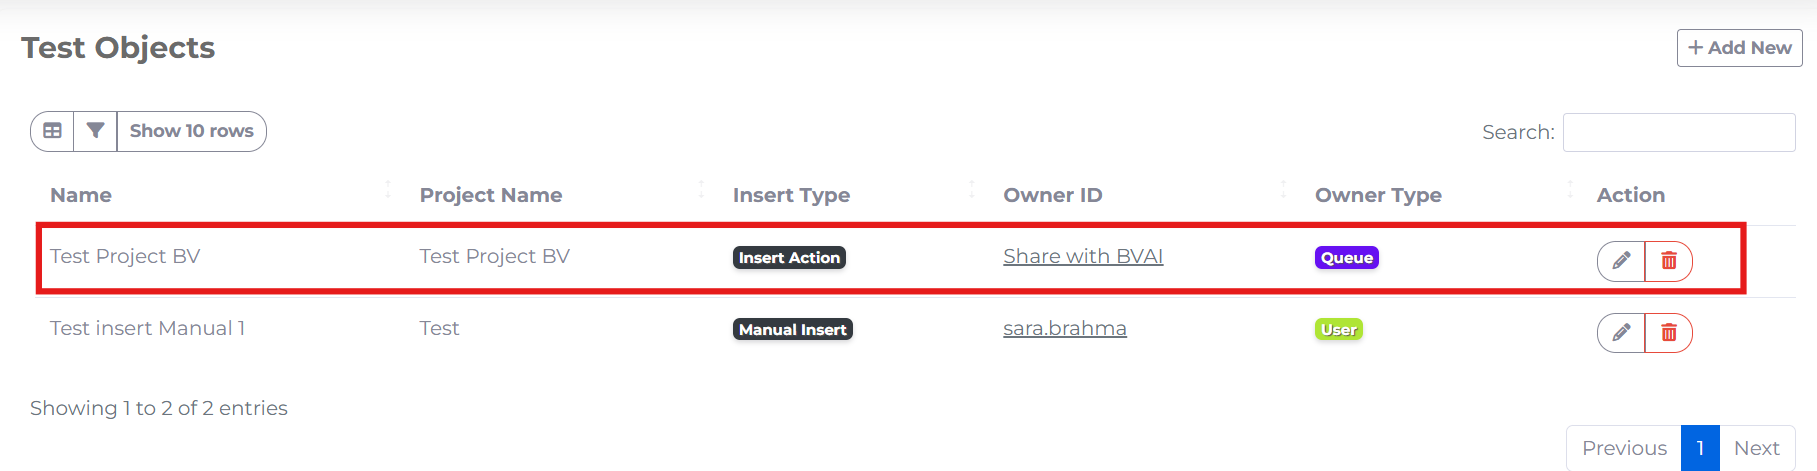
Newly added project is inserted to the target object by insert action
#### Multiple Record Insertion
Use this mode to insert multiple records automatically from a source object.
Additional Configuration - Select a Source Object from which records will be fetched. - Configure Filter Conditions using the Expression Builder to control which records are inserted.
Example Filter Condition

4. Finalize and Save
- Modify the Sequence if needed. If there are other actions of the same workflow then specify when this action will be executed by populating Sequence as 1,2,3 etc.
- Add Workflow ID if not already populated.
- Set the Status to Active or Inactive →
Save
Thank you for following these steps to configure your SnapApp components effectively If you have any questions or need further assistance, please don’t hesitate to reach out to our support team. We’re here to help you make the most out of your SnapApp experience.
For support, email us at snapapp@bluevector.ai