Menus: Custom HTML
on 01-26-2026 12:00 AM by SnapApp by BlueVector AI
349
Custom HTML on Menus
While SnapApp provides standard navigation elements, the Custom HTML feature allows administrators to create their own navigation bar/menu with HTML. This is particularly useful for adding non-standard branding elements, complex headers, or third-party widgets into the navigation experience.
Table of Contents
- Why Use Custom HTML in Menus?
- Configuring Custom HTML Menus
- Phase 1: Creating the Menu
- Phase 2: Adding the Custom HTML
- Best Practices
- 1. Responsive Code
- 2. Styling (CSS)
- 3. External Links**
- Use Case Examples
Why Use Custom HTML in Menus?
Custom HTML provides a layer of flexibility for the application:
- Bespoke Branding: Go beyond a simple logo by adding custom SVGs or animated headers.
- Third-Party Integrations: Embed small widgets, such as status indicators or weather snippets, directly into the sidebar or top navigation.
- Stylized Dividers: Create unique visual separations between menu categories that match your corporate design system.
Configuring Custom HTML Menus
Custom HTML is a beta feature; you must enable this in Advanced Settings from the Global Settings page before you can add it to a menu.
Setting up a Custom HTML menu is a two-stage process: first, creating the menu and then adding the specific HTML code.
Phase 1: Creating the Menu
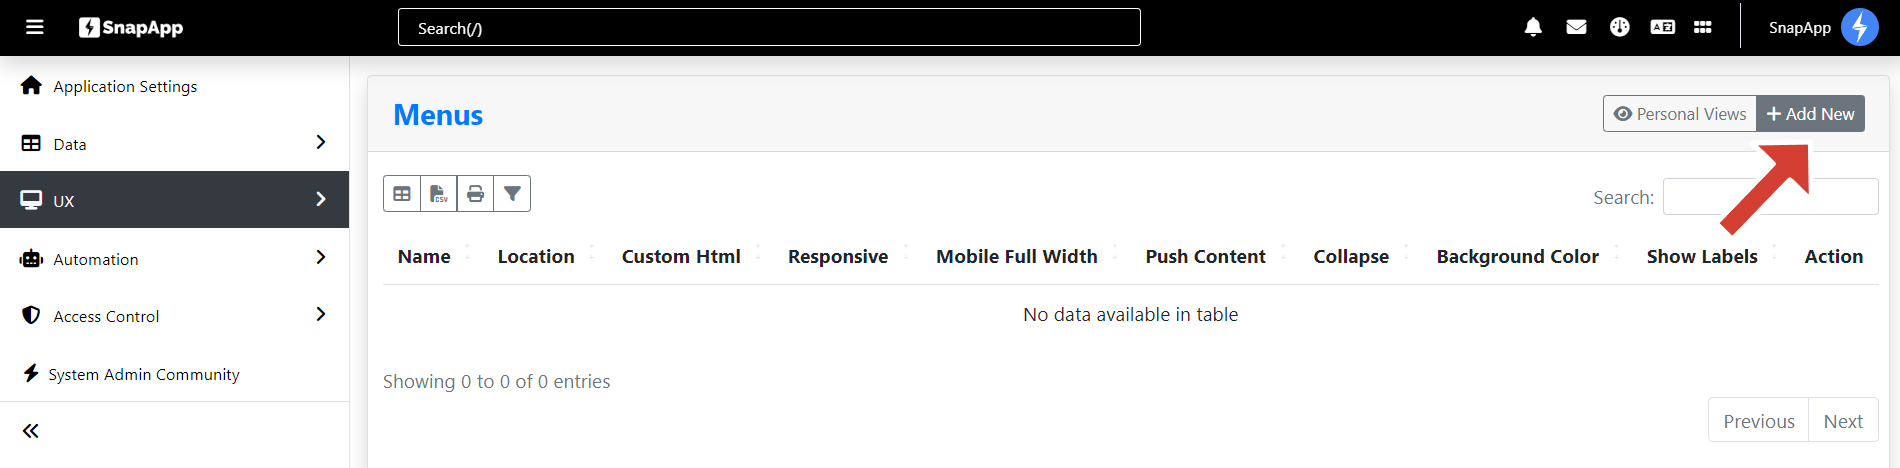
- Navigate to Settings > UX > Menus.
- Click the + Add New button to open the Add Menu window.
- Fill out the required fields:
- Name: Provide a unique title (e.g., “Custom HTML Menu”).
- Location: Choose where the menu will appear, such as Left for a sidebar.
- Labels/Icons: Determine if you want to show labels, icons, or both.
- Ensure the Active checkbox is checked.
- Click Save.

Phase 2: Adding the Custom HTML
Once the menu is saved, you must edit its details to add your code:
- Open the Details view of the menu you just created.
- Click Edit to access the Update Menu screen.
- Locate the Custom Html editor.
- Enter your HTML structure. A typical sidebar example includes:
- A
<nav>wrapper with specific classes likesidebarornav-menu. - Anchor tags (
<a>) containingdata-sectionattributes for navigation targeting. - Span tags for text (e.g.,
nav-text) and div tags for visual indicators.
- A
- Use the editor tools to Format,

Copy, or Execute the code to verify its structure. 6. Click Save to apply the custom interface to your application.
Best Practices
1. Responsive Code
Ensure any HTML you add is responsive. Since SnapApp is used on mobile and desktop, your custom menu elements should use flexible units (like % or vw) rather than fixed pixels.
2. Styling (CSS)
While you can add inline styles (e.g., <div style="color: red;">), it is best practice to use classes that correspond to your Global Theme to maintain visual consistency across the app.
3. External Links**
When creating navigation links, ensure your href attributes point to the correct internal paths or external URLs.
Use Case Examples
| Component | HTML Snippet Example |
|---|---|
| Custom Header | <h3>Project Dashboard</h3> |
| Branded Divider | <hr class="custom-gold-divider"> |
| Contact Link | <a href="mailto:support@company.com">Help Desk</a> |
For support, email us at snapapp@bluevector.ai